Would you like to customize your Salesforce Navigation bar to display just the tabs you actually use? Well, this blog post shows you step-by-step instructions on how to add, remove, and customize your tabs. Let’s go!

How to Customize Tabs in Salesforce.
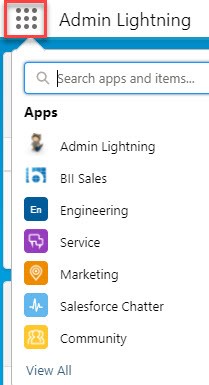
An “App” in Salesforce is a list of tabs that are used for a particular set of users, or a team. Each App can, and almost always will, have different tabs. You can view or change Apps (some users won’t have access to more than one App) by clicking the dots in the upper left corner:
To customize your list of tabs, click the pencil at the right side of the Navigation bar:

Once clicked, a screen showing your current tabs is displayed:
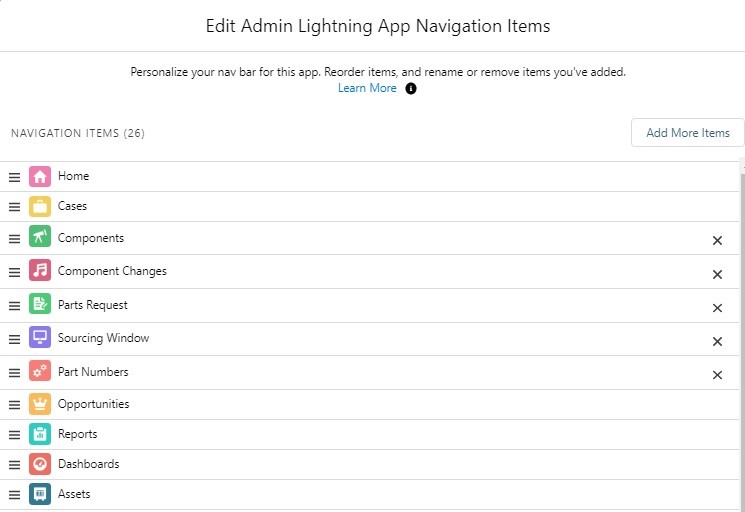
You can removed any tab with an “X” to the right of it from your Navigation bar. Tabs without an “X” are defaults for the App. Your administrator sets these. Ask nicely and they can remove them.
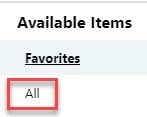
To add a new tab(s), click the “Add More Items” button and then the “All” option on the left:
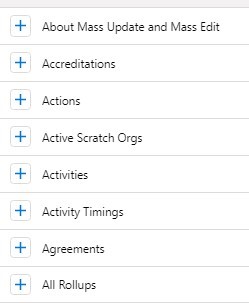
To choose one or more tabs you’d like to add, simply click the blue plus sign to the left of the label:
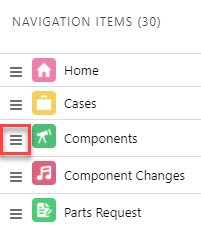
After saving your new settings, you can reorder tabs by clicking and dragging the 3 lines on the left to the desired location.
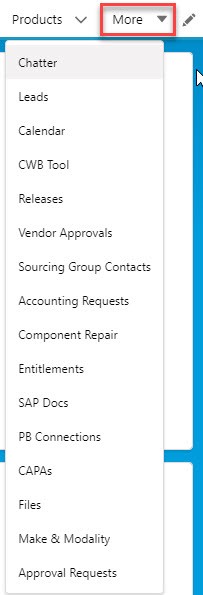
The new list and order of tabs show up after saving again. If there isn’t enough space to display all the tabs you’ve chosen, a “More” dropdown menu appears. The rest of your chosen tabs show when you click there.
There you have it! Use this tip to save time and increase productivity. It also reduces the frustration of scrolling through a long list of tabs you don’t actually use. If you’ve found this helpful and would like to get even more Salesforce support, reach out to us at ForceMedic Design!